In the world of bread baking, ingredients matter. While traditional grains have long been the staple of bakers everywhere, sprouted grains are gaining popularity for their unique nutritional benefits and distinctive flavor profiles. If you’ve ever wondered about sprouted grains and how they can elevate your bread baking, this guide is for you.
What Are Sprouted Grains?
Sprouted grains are whole grains that have begun to germinate. This process involves soaking the grains in water until they sprout, which activates enzymes and begins the transformation from seed to plant. Sprouting can be done with a variety of grains, including wheat, barley, rye, and even oats.
Nutritional Benefits
Sprouting grains unlocks a host of nutritional benefits:
- Increased Nutrient Absorption: Sprouting breaks down anti-nutrients like phytic acid, which can inhibit the absorption of minerals such as iron, zinc, and calcium.
- Enhanced Digestibility: The germination process breaks down some of the starches in grains, making them easier to digest.
- Boosted Vitamins and Antioxidants: Sprouted grains have higher levels of vitamins B and C and an increase in antioxidant activity.
Why Use Sprouted Grains in Bread Baking?
Superior Flavour
Sprouted grains add a depth of flavor to bread that is hard to achieve with non-sprouted grains. The natural sweetness and nuttiness from the sprouting process enhance the overall taste of the bread, offering a richer and more complex flavor profile.
Improved Texture
Breads made with sprouted grains often have a softer crumb and a more tender texture. The sprouting process alters the grain’s structure, resulting in a lighter and airier loaf that retains moisture better.
Healthier Loaves
Using sprouted grains in bread baking not only boosts the nutritional content but also makes the bread more digestible. This can be especially beneficial for people with mild grain sensitivities, although it is not suitable for those with celiac disease or severe gluten intolerance.
Tips to Sprout Grains Faster
While there’s no magical shortcut to dramatically speed up sprouting, these tips can help accelerate the process:
Optimal Conditions:
- Temperature: Warmer temperatures encourage faster sprouting. Aim for around 70-75°F (21-24°C).
- Oxygen: Good airflow is crucial. Rinse and drain your grains thoroughly after each soak.
- Light: While not strictly necessary, some light can stimulate growth.
Grain Preparation:
- Soaking: Use lukewarm water to activate the grains.
- Rinsing: Thoroughly rinse grains to remove any debris and prevent mold.
Sprouting Process:
- Frequency: Rinsing your grains more frequently can speed up the process. However, be careful not to over-rinse, as this can hinder growth.
- Jar Size: Using a wider jar allows for better airflow, which can promote faster sprouting.
Remember: The type of grain also plays a role in sprouting time. Some grains naturally sprout faster than others.
By following these tips and consistently monitoring your grains, you can enjoy your sprouted goodness in a slightly shorter time.
Sprouting Times for Common Grains
The sprouting time can vary based on factors like grain freshness, temperature, and the specific sprouting method used. Here’s a general guideline:
Faster Sprouters:
- Alfalfa: Typically sprouts in 2-4 days.
- Mung beans: Usually ready in 3-5 days.
- Radish seeds: Can sprout within 2-4 days.
Moderate Sprouters:
- Lentil: Takes around 4-6 days to sprout.
- Broccoli sprouts: Generally ready in 5-7 days.
- Wheatgrass: Can take 7-10 days to reach a harvestable length.
Slower Sprouters:
- Brown rice: Requires patience, often takes 7-10 days or more.
- Quinoa: Can take up to 7 days to sprout.
Remember: These are estimates. Always check your sprouts regularly for optimal growth and freshness.
How to Use Sprouted Grains in Bread Baking
Purchasing Sprouted Grain Flour
One of the easiest ways to incorporate sprouted grains into your baking is by using sprouted grain flour, which can be found at many health food stores or online. This flour can often be used as a one-to-one replacement for regular flour in recipes, though you may need to experiment to achieve the perfect texture and rise.
Making Your Own Sprouted Grain Flour
For the more adventurous baker, making your own sprouted grain flour is a rewarding process. Here’s a simple method:
- Sprout the Grains: Soak the grains in water for 12-24 hours. Rinse and drain, then spread them out and allow them to sprout over the next 1-2 days, rinsing periodically.
- Dry the Sprouts: Once the grains have sprouted, dry them thoroughly using a dehydrator or an oven on the lowest setting.
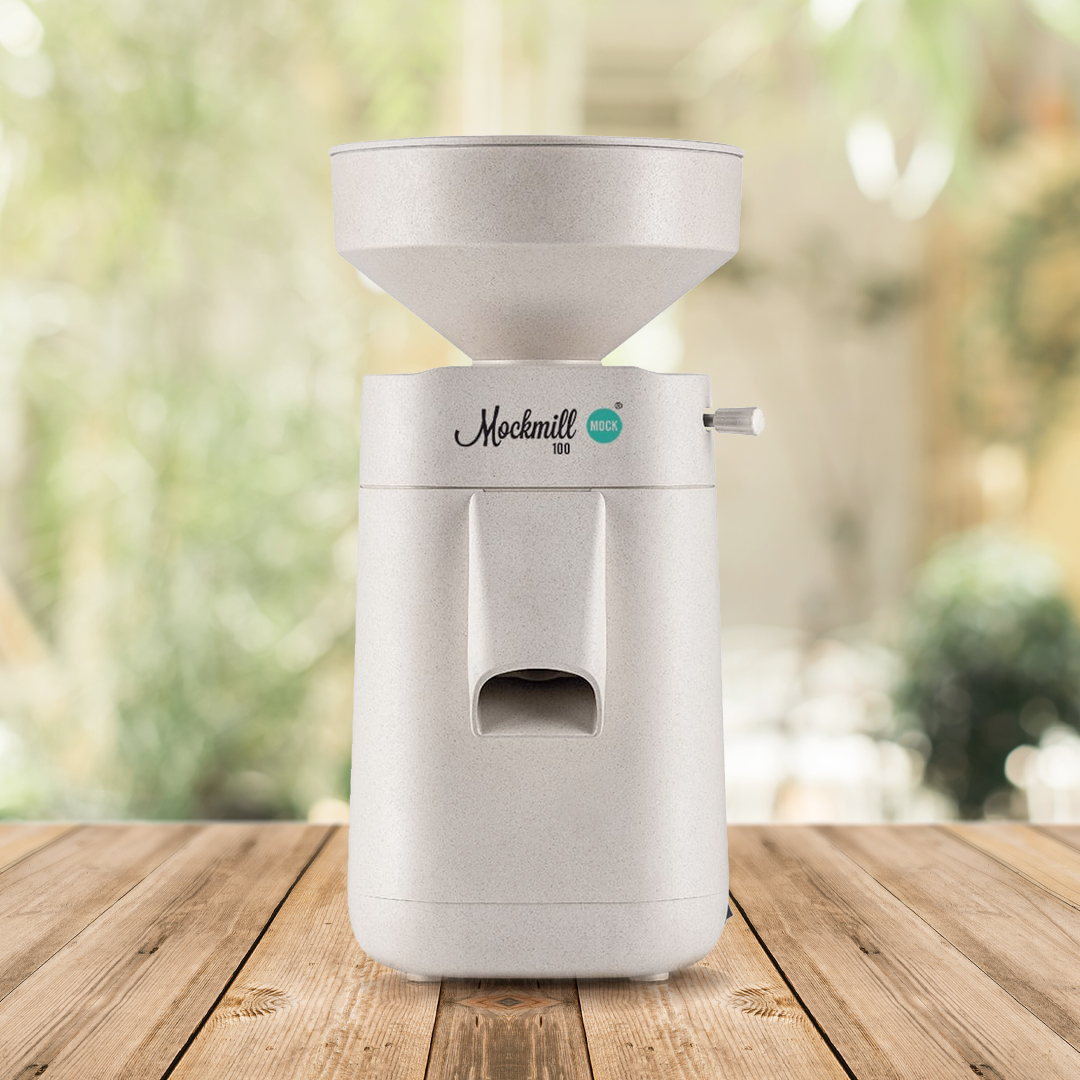
- Grind into Flour: Once completely dry, grind the sprouted grains into flour using a grain mill or a high-powered blender.
Baking Tips
- Hydration: Sprouted grain flour may absorb more water than regular flour, so be prepared to adjust the hydration levels in your dough.
- Fermentation: Allow for a longer fermentation time, as sprouted grains can lead to faster fermentation due to increased enzyme activity.
- Texture Adjustments: If the dough feels too sticky or too wet, try adding a bit more flour or reducing the liquid in your recipe.
Delicious Sprouted Grain Bread Recipe
To get you started, here’s a basic recipe for sprouted grain bread:
Ingredients
- 500g sprouted grain flour (Visit our grain section)
- 350ml warm water
- 2 tsp active dry yeast
- 1 tsp salt
- 2 tbsp honey or maple syrup
- 2 tbsp olive oil
Instructions
- Activate the Yeast: In a small bowl, combine warm water and honey. Sprinkle the yeast on top and let it sit for about 5 minutes, until it becomes foamy.
- Mix the Dough: In a large bowl, mix the sprouted grain flour and salt. Add the yeast mixture and olive oil, and stir until a dough forms.
- Knead: Turn the dough out onto a floured surface and knead for about 10 minutes, until the dough is smooth and elastic.
- First Rise: Place the dough in a lightly oiled bowl, cover with a damp cloth, and let it rise in a warm place for about 1 hour, or until doubled in size.
- Shape and Second Rise: Punch down the dough, shape it into a loaf, and place it in a greased loaf pan. Cover and let it rise for another 30-45 minutes.
- Bake: Preheat your oven to 375°F (190°C). Bake the loaf for 35-40 minutes, or until it sounds hollow when tapped on the bottom.
- Cool: Let the bread cool completely on a wire rack before slicing.
Conclusion
Sprouted grains offer a delightful twist on traditional bread baking, providing enhanced flavors, improved textures, and numerous health benefits. Whether you purchase sprouted grain flour or make your own, incorporating sprouted grains into your baking routine is a delicious way to elevate your homemade bread. Give it a try and enjoy the wholesome, nutritious, and flavorful benefits of sprouted grains in your next loaf!

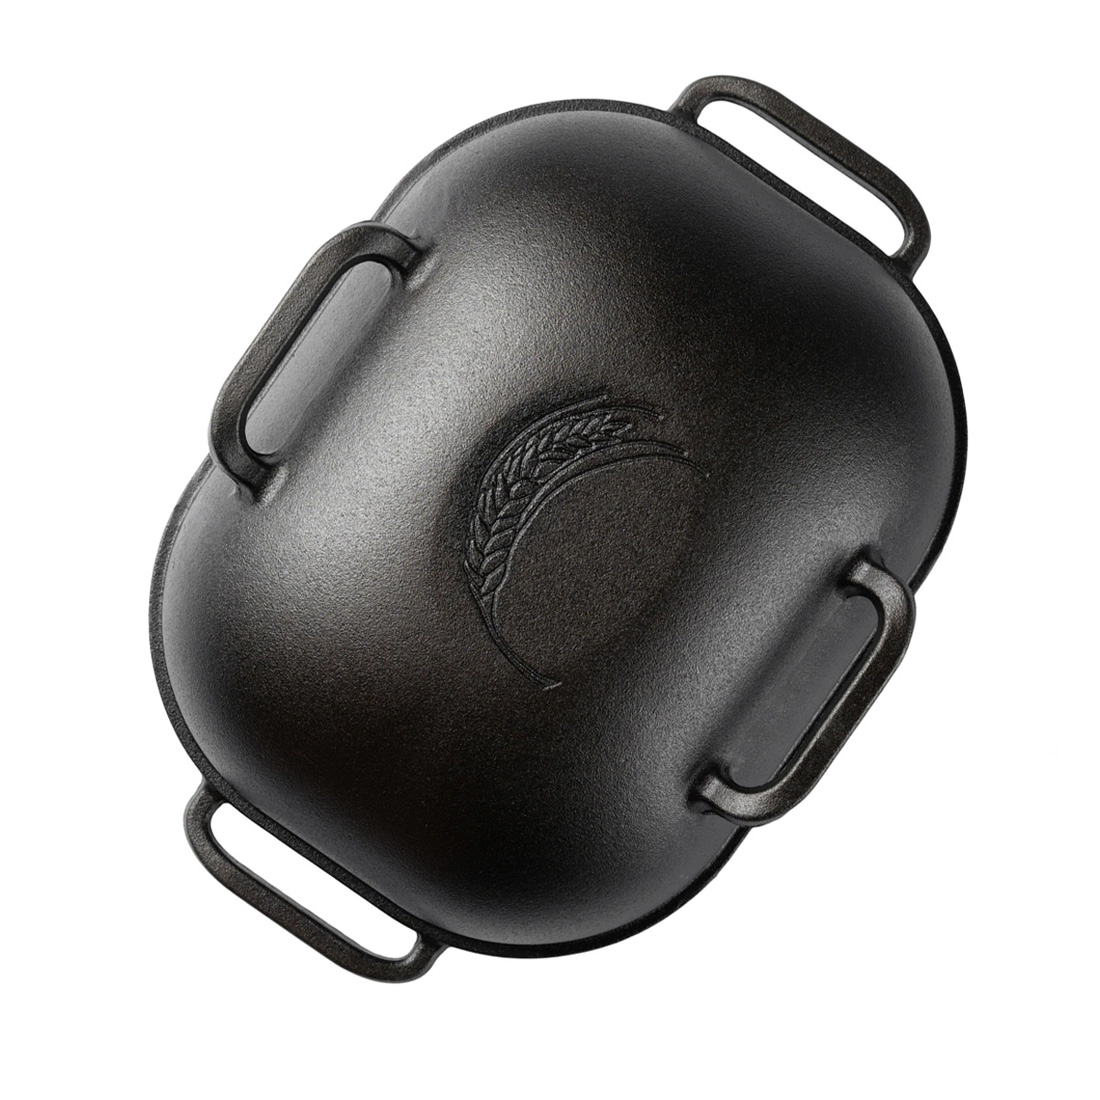
 Challenger Bread Pan
 Mockmill 100 Grain Mill
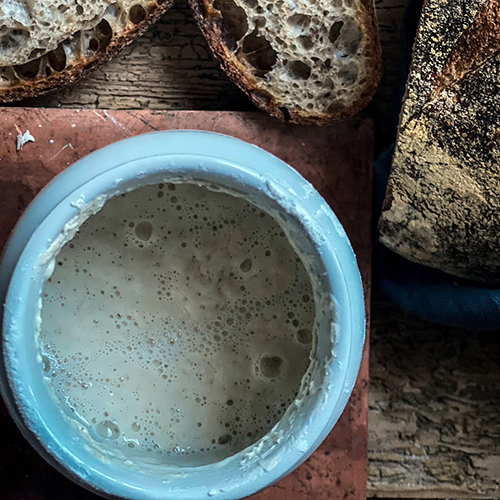
 White Sourdough Starter Kit
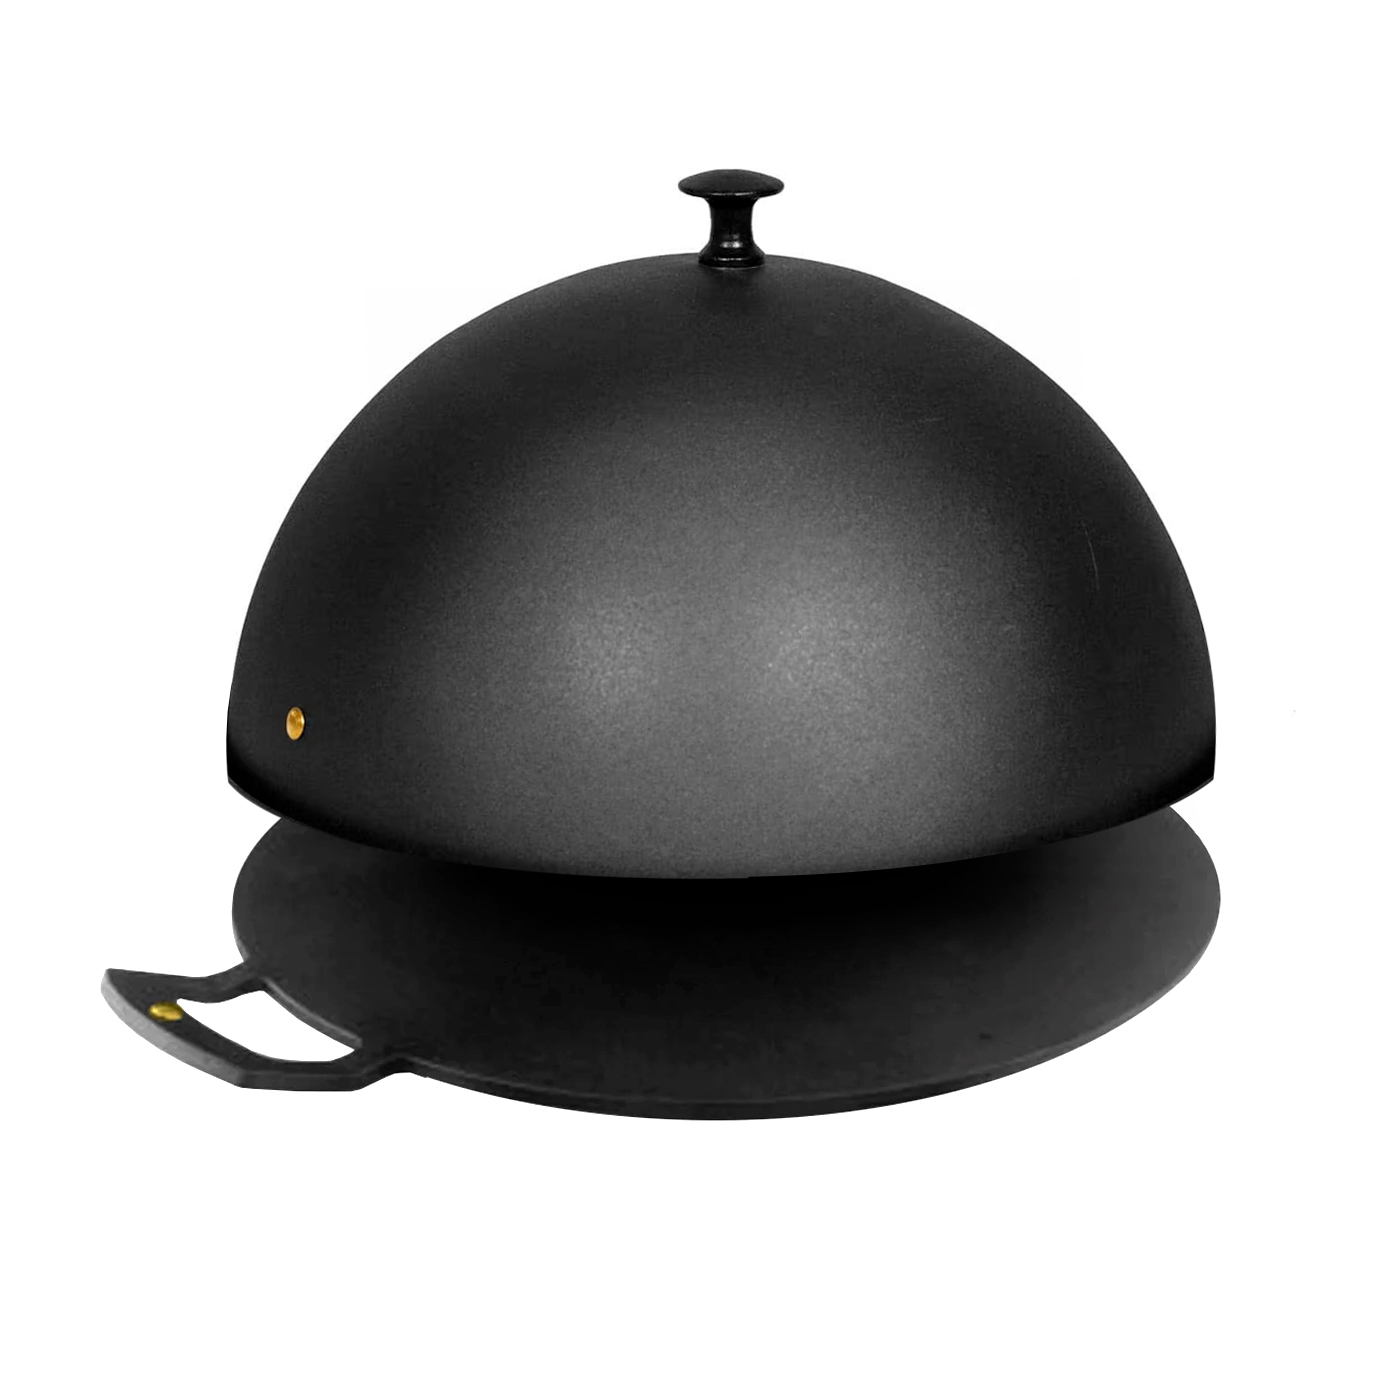
 Netherton Foundry Bread Pan