A sourdough boule is a traditional French bread, shaped like a ball. For those looking to get into sourdough baking for the first time, it’s a great and rewarding entry point. For the experienced baker, it’s a sourdough staple.
For this great sourdough boule recipe, courtesy of our friend and sourdough expert, Vanessa Kimbell, you’ll need an active sourdough starter and about three hours for dough prep’. This allows enough time to mix, fold, and shape the dough. Additionally, you’ll need to rest the sourdough in the fridge for 24 hours. The dough hydration for this recipe is 80%.
The bread-baking process can be split into five key parts. These include:
1.Mix
2.Fold
3.Shape
4.Prove
5.Bake
If you don’t have a sourdough starter to use, you can simply buy one from us here.
If you don’t want to round the dough using a banneton or bowl, you could use a simple greased 2lb loaf tin.
Equipment:
- 1 mixing bowl and whisk
- 1 round banneton
- 2 clean tea towels or linen
- 1 bread pan
- 1 sharp knife or ‘lame’
Ingredients:
- 378g water (43°C)
- 150g sourdough starter (or leaven)
- 200g of organic wholemeal flour
- 300g organic strong white flour
- 10g fine sea salt
- 25g rice flour mixed with 25g of stone-ground white flour (for dusting your banneton)
- Semolina to dust the bottom of the baking surface
The recipe will make 1 large loaf.
Method
Mix stage
Task: First, pour all but 1/4 cup of the water (43°C) into the mixing bowl along with all of the flour and starter. Mix this together well, using a wooden spoon, wet hands, or a stand mixer. Cover the bowl with a tea towel and leave it to rest for 10 minutes (a process known as Autolyse).
Why: This will help the mixture soften and develop the gluten. Ensure the environment temperature is kept somewhere close to 28°C.
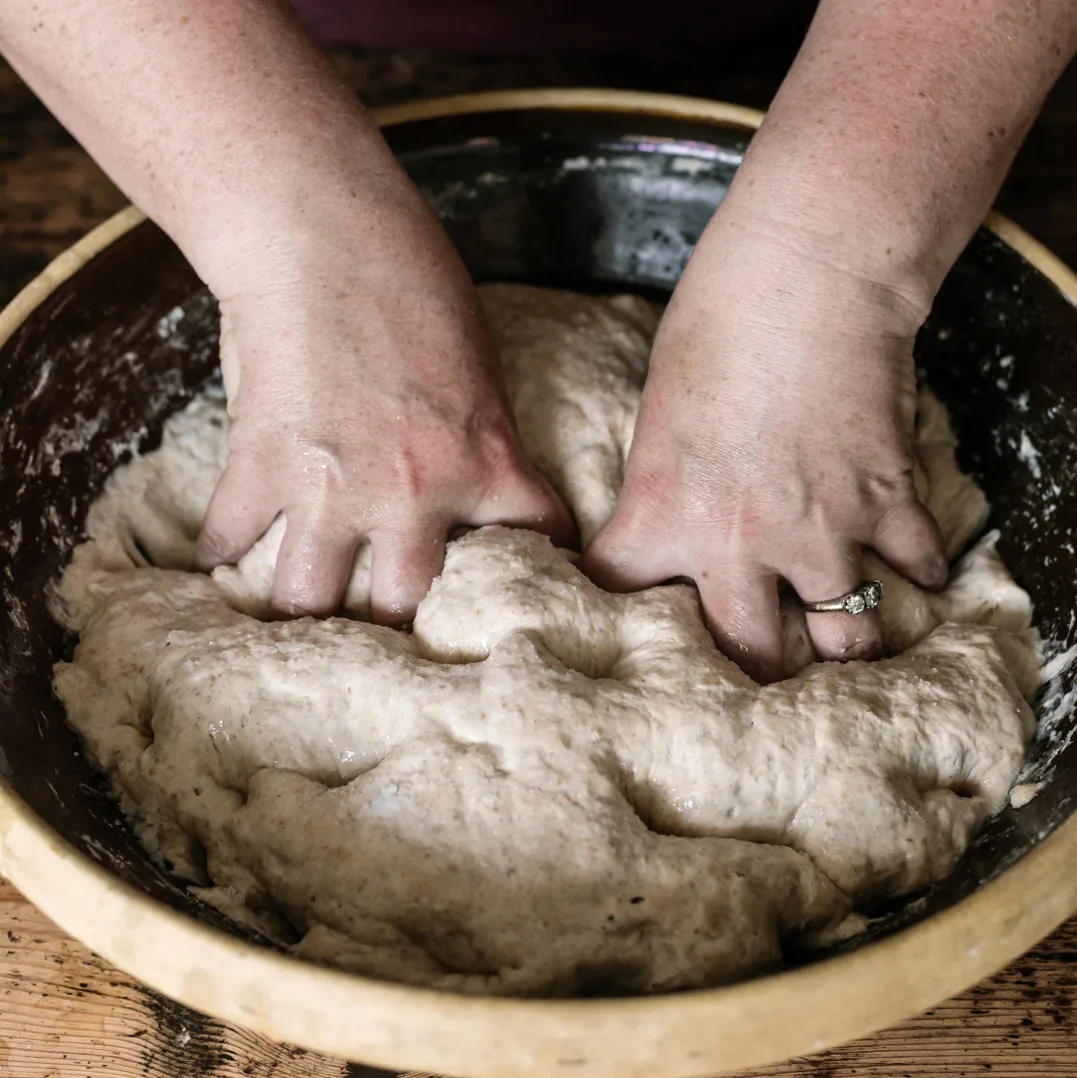
Task: After 10 minutes, the dough should show signs of greater elasticity. In a cup, combine the salt with the remaining water and mix thoroughly. Now push your fingers into the dough to create small dimples, and pour in half of the watery salt solution to fill the dips. Massage the water into the dough with confident and bold finger movements. Twist and clench the dough. Once the water has been mostly absorbed, cover and leave for 10 minutes.
After 10 minutes, repeat the same process with the remaining water and again leave for another 10 minutes.
Why: We are encouraging the flour to gradually absorb the water over time. The salt is important as it helps with gluten strength and structure. Furthermore, it helps to carry and hold the flavours.
Tip: Be careful, because if you forget to add your salt, your boule can fall flat when you come to bake!

Fold stage
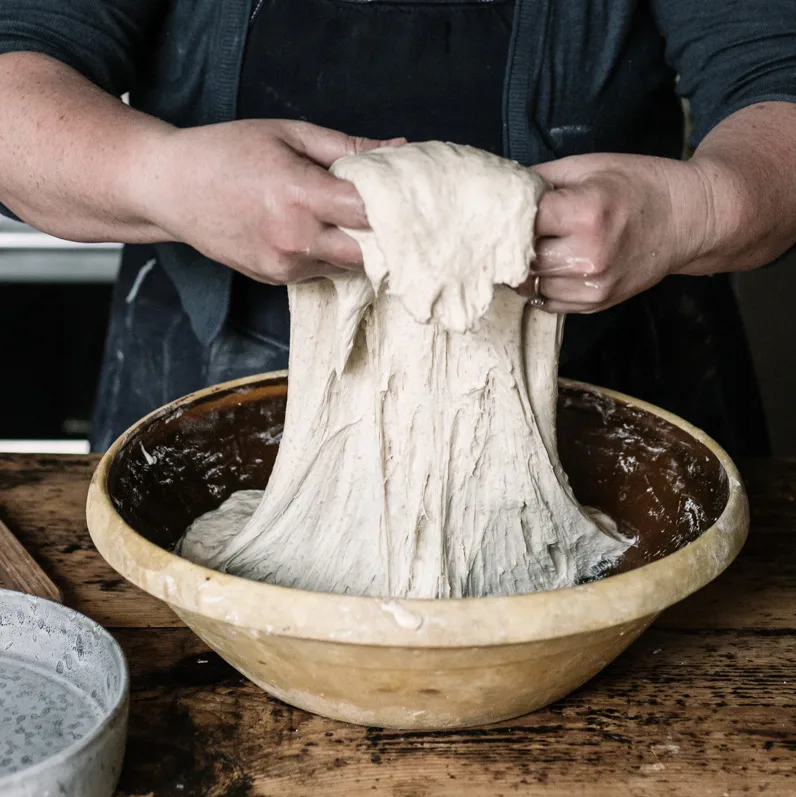
Task: The elasticity in the dough should now be enough to pull, stretch, and fold the dough in half. Make sure your hands are wet, scoop up the top edge of the dough, and stretch it gently, motioning it up (wiggle a little). Lower and place the extended edge back on top of the dough ball (click here for a detailed description on this process). It’s important not to tear the dough while you do this. Turn the bowl a quarter, and repeat this three more times. Finally, turn the dough over and place it back into the bowl with the smooth side up. This fold process needs to be repeated three more times at 30-minute intervals. You will find the dough becomes more resistant and strengthens gradually.
Why: The stretch-and-fold process serves to strengthen the gluten strands in your sourdough. Additionally, it helps to build tension and hold structure when shaping.
Tip: If you find your dough is quite taught and tight when you first do this, something could be wrong. You could try adding more water, increasing the water temperature, or leaving the water to soften the flour for longer.
Tip: White flour tends to have greater elasticity than wholemeal. If you’ve adapted this recipe to include a higher percentage of wholemeal, do not worry if the dough does not show a super amount of flex and elasticity.

Shape stage
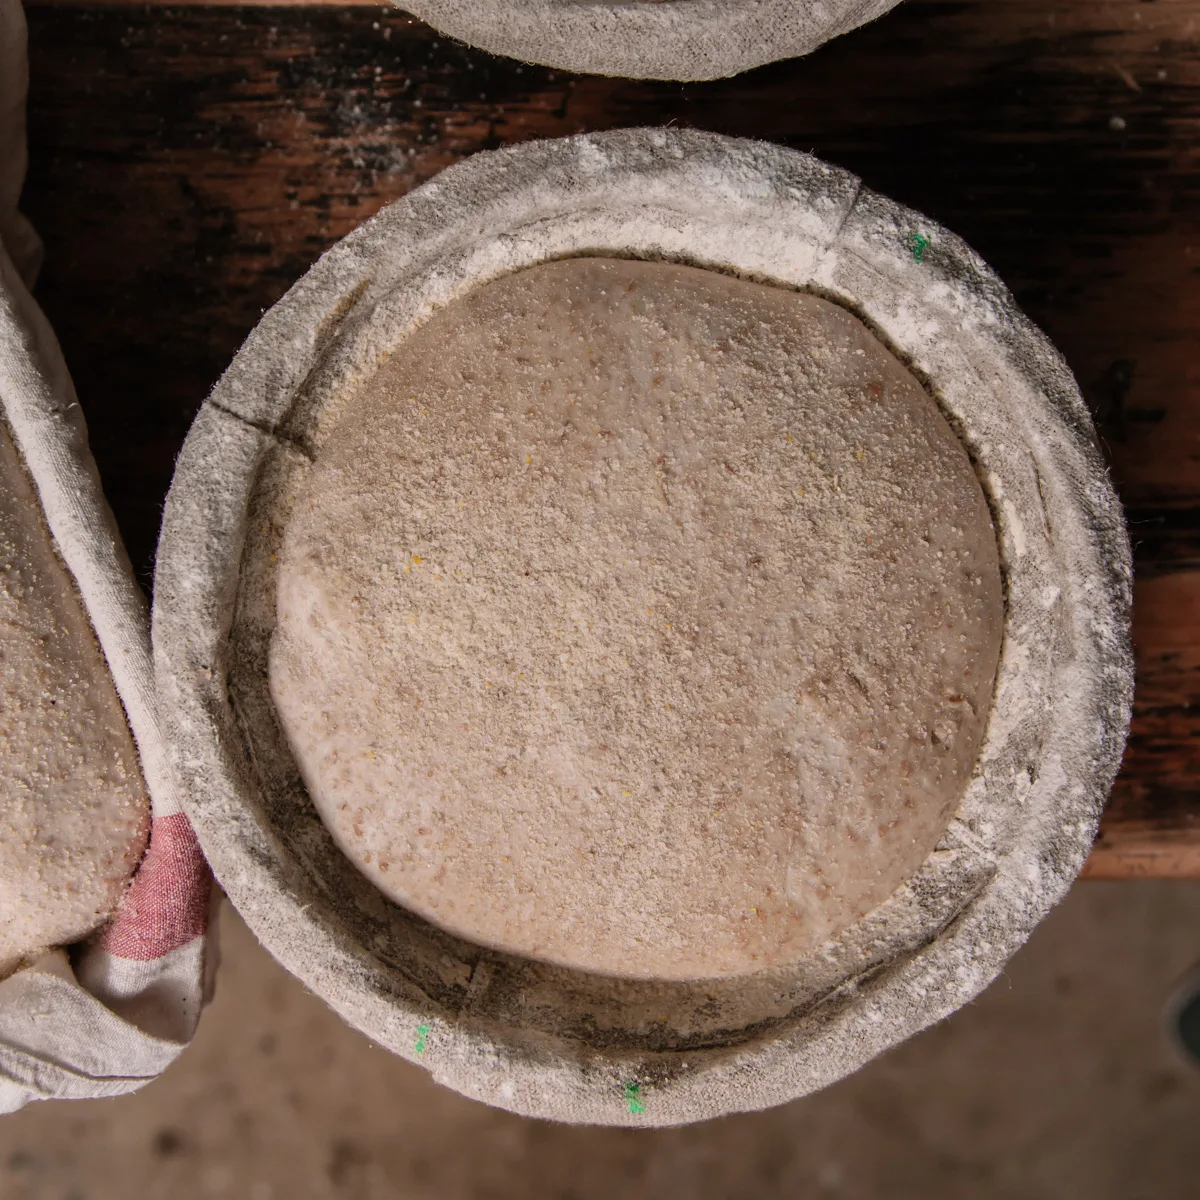
Task: Transfer and place the dough on a floured surface. In a similar way to the fold process, stretch the top and pull back gently, repeat this for each 90 degree angle. Return the dough to the surface in a ball shape with the folded edges now facing down. Using a bench knife, round the bottom of the dough by sliding it under at a 45 degree angle to roll the dough across the table slightly. Now carefully roll the dough in rice flour and transfer the dough to your banneton. If you don’t have a banneton, use a large bowl lined with a dusted tea towel. Cover the dough with a damp tea-towel.

Prove stage
Task: Rest your dough at room temperature for 5 hours. Once the dough volume has increased by 60-70%, place it in the fridge. Leave your dough in the fridge for 24 hours. 24 hours will help to create a consistently aerated dough.
Tip: Our bread mix is normally started mid- to late-morning. It enters the fridge at 5pm and is ready to bake at 5pm the next evening. However, you can leave it for another 24 hours if you’d like to develop a stronger taste.
Tip: Cold proofing, as opposed to ambient proofing, is a little more forgiving. It’s good for beginners, but obviously you have to have more patience!

Bake stage
Task: Preheat your oven and bread pan to 220°C (or as hot as it will go).
Depending on your bread pan or steel of choice, you’ll need to allow the equipment to warm up. This can vary. For a cast-iron Challenger bread pan, it’s recommended to heat up for 45 minutes. A baking steel will heat up faster at roughly 30 minutes. Once the pan or steel has been heated, carefully remove it from the oven. Dust with a thin coat of semolina or rice flour to help avoid dough sticking.
Carefully place your dough on the heated pan and score the top layer of skin with a lame or sharp bread knife. This will create texture as the bread bakes and improve the appearance. The tear also directs the steam and gas to escape the bread in an orderly way. Without this, it will find the weakest part of the form to break through (usually the sides). Additionally, you may want to dust the top with more rice flour to encourage blistering on the surface or aid with decoration.
Tip: Lastly, you can add a pan of hot water to the floor of the oven or some ice. If you have an enclosed pan, chuck in a few ice cubes under the enclosed lid. The steam helps to moisten the crust and thus allows the bread to expand more freely. It will also help to draw starch to the surface, giving it a beautiful brown coat.
Task: Bake in the oven at 220°C (190°C for a fan assisted oven) for 30 minutes.
If you are using a bread pan with a lid or a Dutch oven, remove the lid, reduce the heat to 180°C (150°C for fan assisted), and bake for another 5–10 minutes. This will help to brown your bread crust and develop taste.

Storage
Leave your sourdough boule to cool for 2 hours to 1 day before storing it in an airtight container or cotton bread bag.
To avoid a crunchy crust, simply wrap the cooked bread in a clean tea towel. Do this while the bread is warm to rehydrate the crust from the omitted steam.
Perfecting the crust
How hard the sourdough crust is purely depends on your preference. If you like a chewy and softer crust, simply cover and leave the bread to rest for a short while after removing it from the oven. This will cause the evaporating moisture to mist-coat the crust and rehydrate.
If, like me, you like a super crunchy crust, when you come to turn the oven off, leave the bread to rest in the oven for 15 minutes with the oven door ajar. This allows surface moisture to freely escape and will help to dry out your crust.
Troubleshooting and General Tips
Why is my sourdough bread dense?
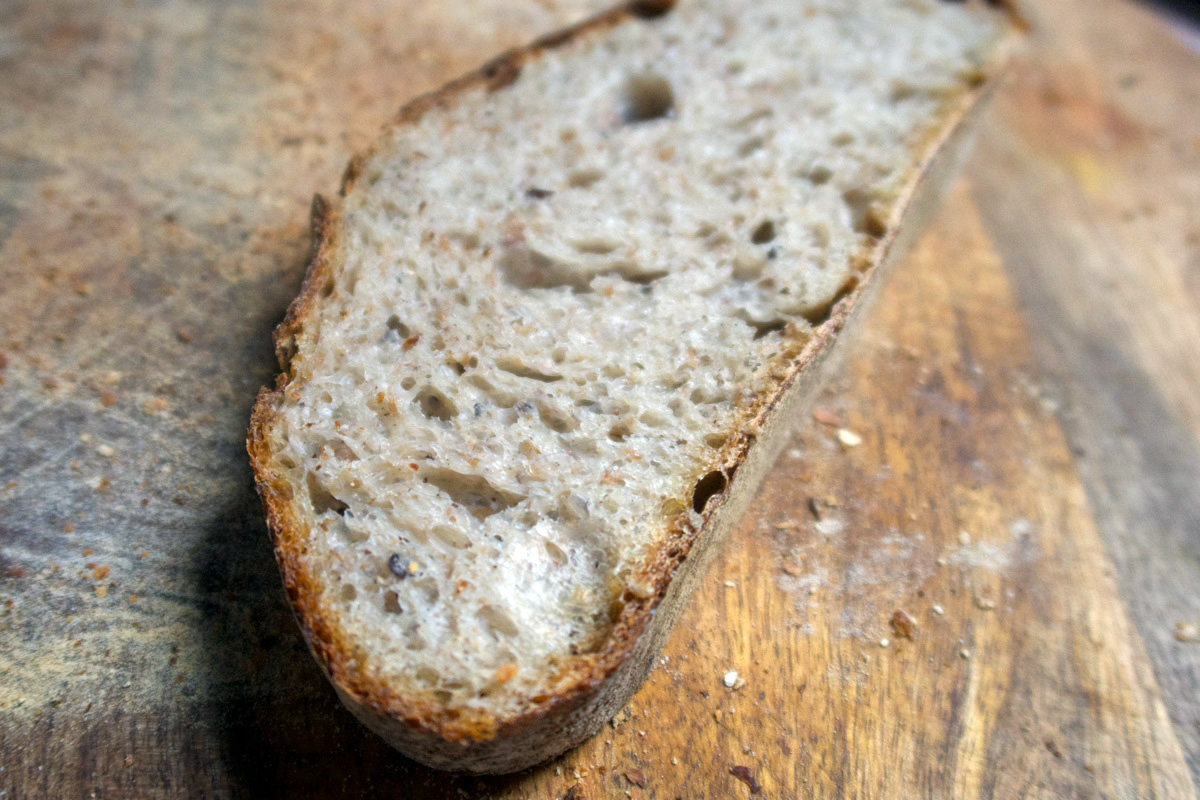
The water content can strongly impact the density of bread. Too little, and the crumb will be dense. Too much, the crumb is airy but the loaf will lack form and structure. We’ve given a water content above but this can vary depending on factors like the type of flour you are using, humidity and personal preference. We encourage you to experiment with the water quantity (a couple of grams can make a big difference).
Build structure and form.
If you like a high hydrated sourdough, when you turn out your boule, it can collapse and sink. You can counter this simply by placing your banneton in the freezer for an hour before baking. The cold dough will hold its form much better and the oven heat won’t allow your dough much time to collapse and give it a great spring.
Sourdough Hydration Calculator Buy a Sourdough Starter Sourdough Recipes
Leave a Reply