Description
Why Sprout Grains and Seeds?
Sprouting grains offers several health and nutritional benefits, making them a great addition to your diet. Here’s why:
1. Increased Nutrient Absorption
Sprouting breaks down antinutrients (such as phytic acid), which can hinder the absorption of key minerals like iron, calcium, and zinc. This makes the nutrients in grains more bioavailable.
2. Easier to Digest
The sprouting process begins breaking down starches and proteins, making grains easier to digest. It can also reduce gluten content in some grains, which may be beneficial for those with mild gluten sensitivities.
3. Higher Protein and Enzyme Content
Sprouted grains tend to contain more protein and digestive enzymes, which can support gut health and aid metabolism.
4. Lower Glycaemic Index
Sprouted grains often have a lower glycaemic index (GI) than regular grains, meaning they cause a slower rise in blood sugar—helpful for diabetics or those managing blood sugar levels.
5. Rich in Antioxidants and Vitamins
Sprouting boosts vitamin levels, particularly B vitamins, vitamin C, and folate, which are important for energy, immunity, and overall well-being.
6. Improved Flavour and Texture
Sprouted grains tend to have a sweeter, nuttier taste and a softer texture, making them ideal for baking, cooking, or adding to salads and bowls.
Common Sprouted Grains:
- Wheat (for sprouted flour, bread, or wheatgrass juice)
- Barley (for soups or brewing)
- Brown rice (for easier digestion and more nutrients)
- Quinoa (for a protein boost)
- Oats (for softer, nutrient-rich porridge)
Tips on Sprouting
Step-by-Step Guide
1. Choose Whole Grains
Make sure you’re using whole, untreated grains (not pearled, polished, or processed). Organic grains are best.
2. Rinse Thoroughly
Wash the grains in a sieve under cold running water to remove any dirt or debris.
3. Soak the Grains
Place the grains in a jar or bowl and cover them with plenty of water. Leave them to soak for:
- Small grains (e.g. quinoa, amaranth): 4–6 hours
- Larger grains (e.g. wheat, barley, oats, rice): 8–12 hours
This softens the grains and starts the germination process.
4. Drain and Rinse
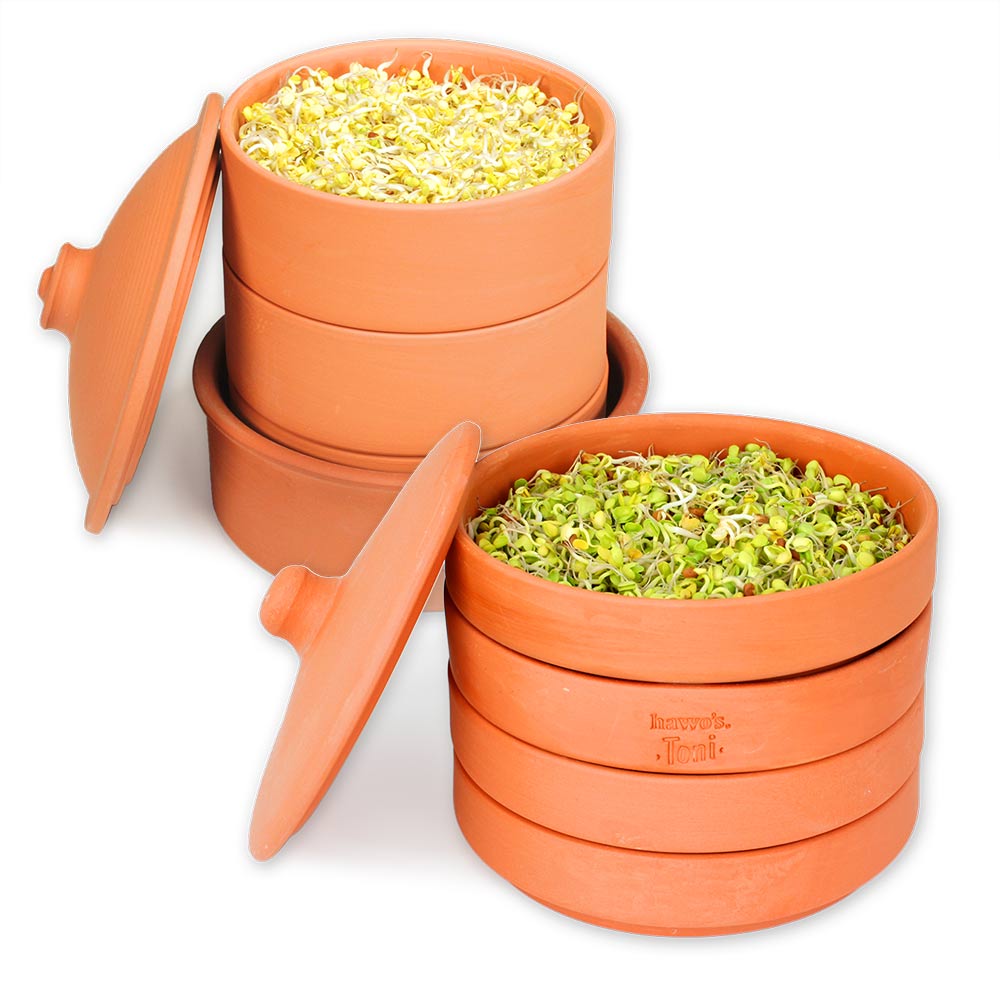
After soaking, drain the water and rinse the grains well. Add the grains evenly to the 2 levels of the clay sprouter.
5. Leave to Sprout
Place the clay sprouter in a cool place (around 18–22°C). Rinse and drain the grains twice a day (morning and evening) to keep them moist and prevent mould.
6. Look for Sprouts
Depending on the grain, you’ll see tiny white tails appear within:
- Quinoa: 12–24 hours
- Wheat, oats, barley, rice: 1–3 days
Once the sprouts are about ¼ to ½ inch (6–12mm) long, they’re ready to use!
How to Use Sprouted Grains
- Eat raw – Add to salads, sandwiches, or smoothies
- Cook like normal grains – Use in soups, porridge, or stir-fries
- Bake with them – Dry and grind into sprouted flour for bread and cakes
- Make sprouted grain porridge – Gently cook with milk or water for a nutrient-rich breakfast
Storage Tips
- Use immediately for the freshest taste.
- Store in the fridge in an airtight container for up to 3 days.
- For long-term storage, dry them in a low oven (around 50°C) or a dehydrator, then keep them in an airtight jar.